OOTT: sashiko moyōzashi and waffle-stitch crochet
OBJECTS OF TIME & THREAD
process, progress & pictures of fibre projects
sashiko moyōzashi
getting started
sashiko is one of the ways we have been working with thread this year. simple stitches stitched at steady intervals that accumulate into splendid geometric tapestries. when we sashiko, our topsy turvy mind empties out. upcycling some of the clothes in our closet with sashiko has brought tremendous joy during these long, bright days of summer.
when we first decided to try our hand at sashiko, we went online. we found so many free online tutorials we got overwhelmed by it all, so instead we got a book. being on the internet feels so overstimulating, everything is so LOUD, everything is a SELL and we are never quite able to learn anything free from pesky, intrusive, noise ads and other distractions. borrowing craft books and magazines from the library has been our workaround for this particular problem.
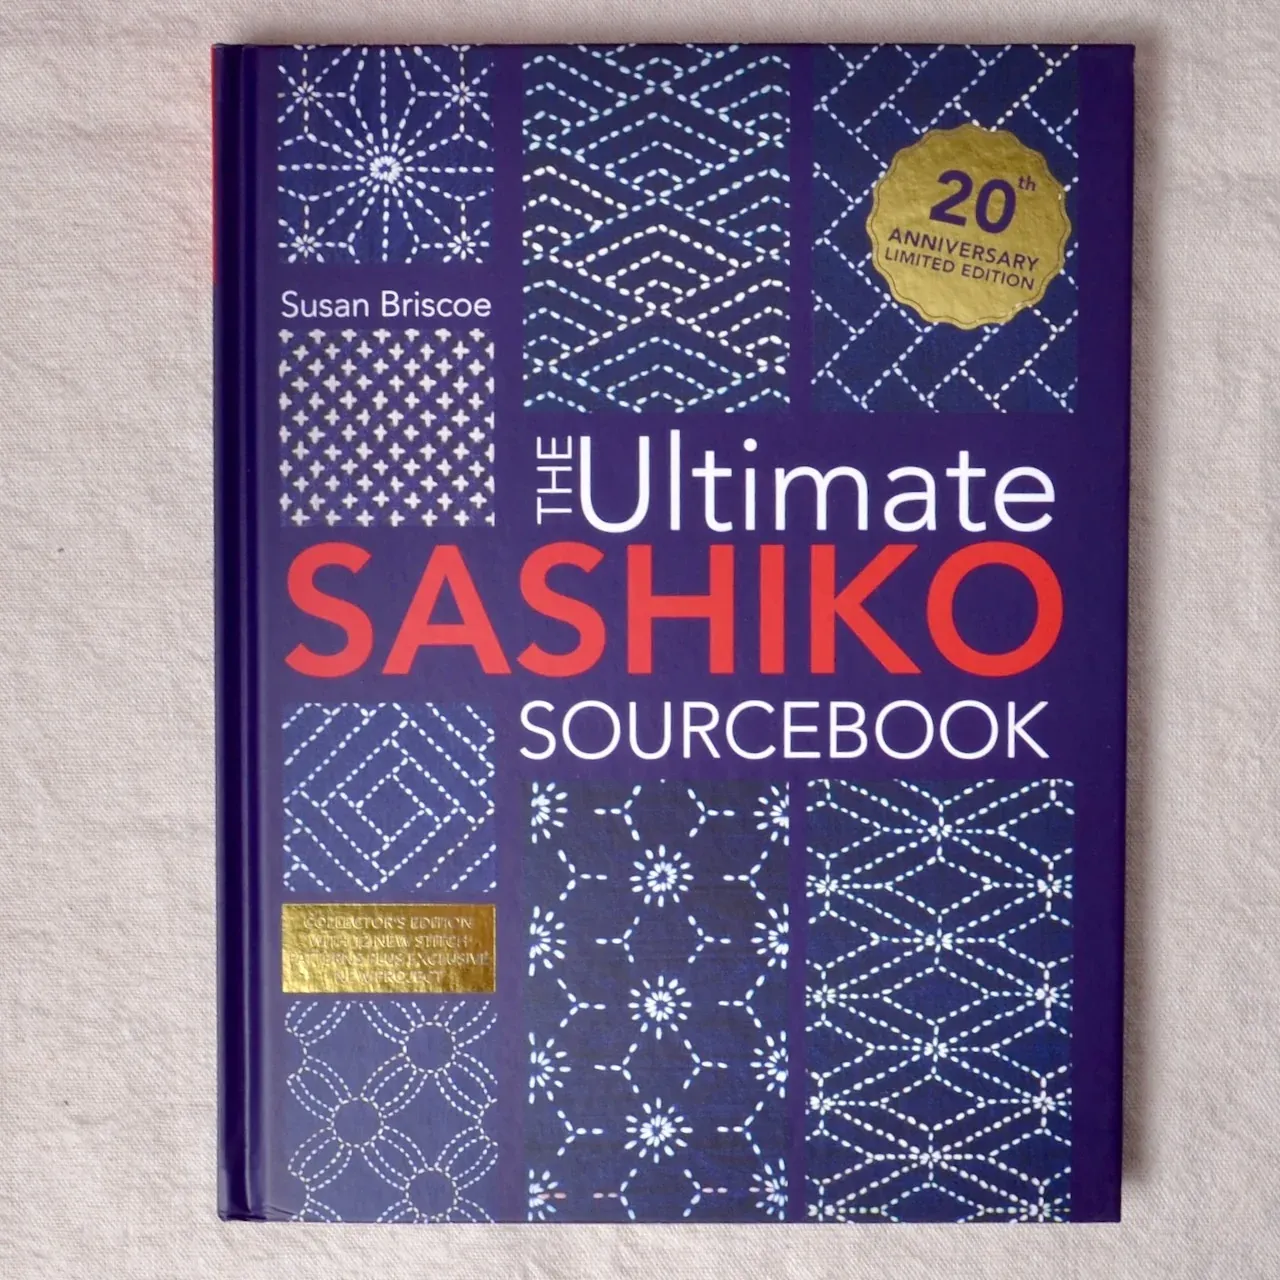
The Ultimate Sashiko Sourcebook by Susan Briscoe is hands down one of our favorite reference guides. after checking it out from the library a couple of times, we decided to purchase a personal copy from a secondhand seller online. whenever we set out to learn something new, we gravitate towards guides that have a mix of historical context, practical step by step and a library of patterns that can be adapted as projects. the historical part is just as important for us as the instructions because it feeds the ravenous beast within that wants to know how this craft has sustained humans for generations. all craft work is folk history, it tells the lives of the daily and ordinary ingenuity of everyday people especially womenfolk. a lot of guides tend to be skint on this part but the ultimate sashiko sourcebook does a good job of hightlighting how sashiko has moved from needlework made to reinforce clothes to get more use out of them by women in the northern regions of Japan like Aomori and Tohoku to it's contemporary revival as an artistic stitch form that is now displayed and exhibited.
the bauhaus dress
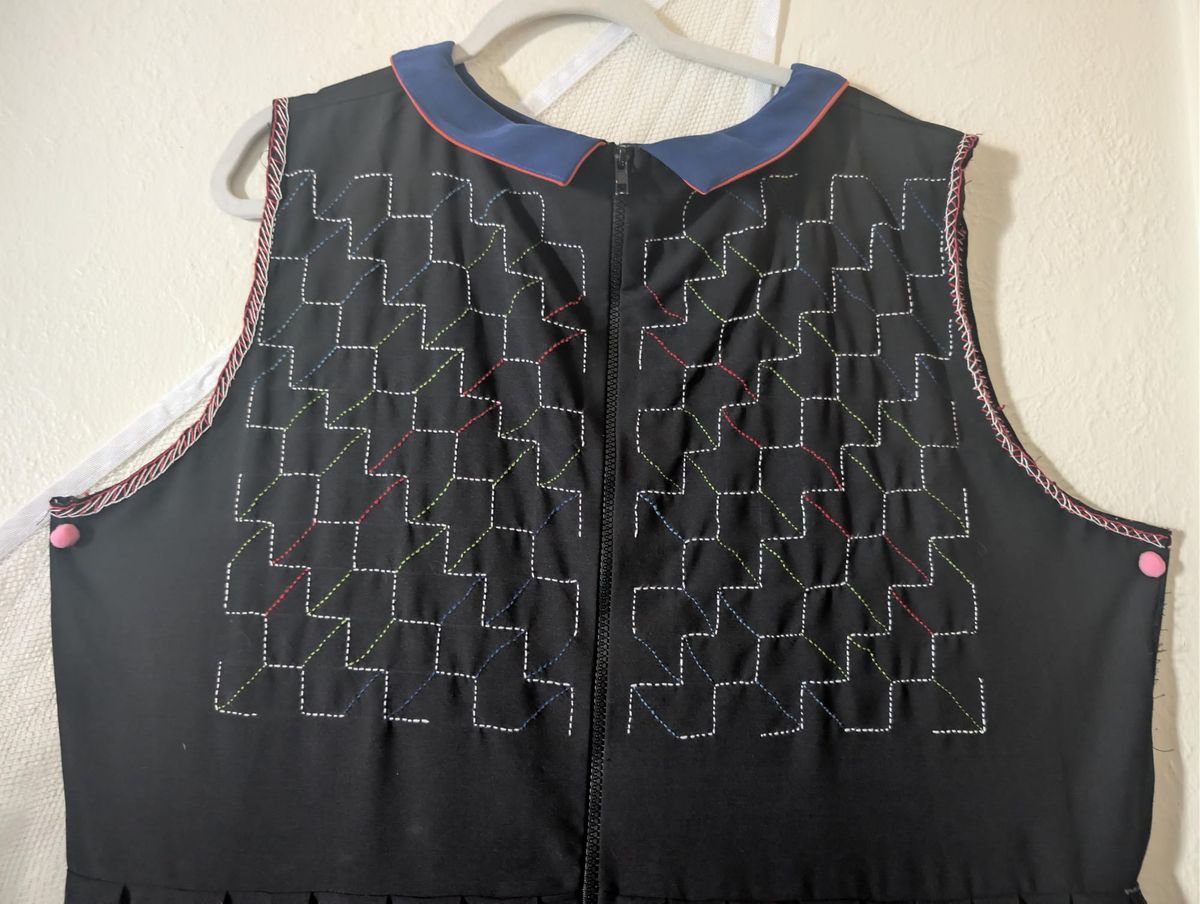
in the before times (those hazy years before the COVID pandemic) we commissioned a tailor to make a couple of dresses for us. commissioning a nigerian tailor to make ready-made (clothes made from fabric that is not batik, aso-òkè, guinea or ankara) clothes is a gamble. for this capsule, some of the dresses turned out perfect and they quickly became our go-tos but this particular dress came out a bit wonky. we had envisioned it as a simple black cotton or linen dress with a peter pan collar and sleeves in primary colors. unable to find the right fabric at the market, our tailor took creative liberties so when we recieved the dress was much plainer and tighter due to fabric differences. as a result, it didn't get much wear from us and remained in the closet.
as part of our ongoing commitment to reduce our consumption, we decided we wanted to give new life to the clothes we had in our wardrobe that needed some mending, alteration or upcycling to become wearable again. The black dress with the primary lapels was one of our first project. at the time, we weren't thinking of a blog post about this project so sadly, we don't have a picture of how the dress used to look like.
when we started thinking about motifs and themes for the dress, we decided we wanted to lean into the primary colors. whenever we think of primary colors, we always think about the bauhaus school of Walter Gropius and the modernist principles of design that has since been simplified and made into symbols. no matter, we still like their use of colors, unity of rounded shapes and straight angles and the holistic symmetry that emerges from the whole in their designs. so, the choice was made, the dress became the bauhaus dress in our mind.
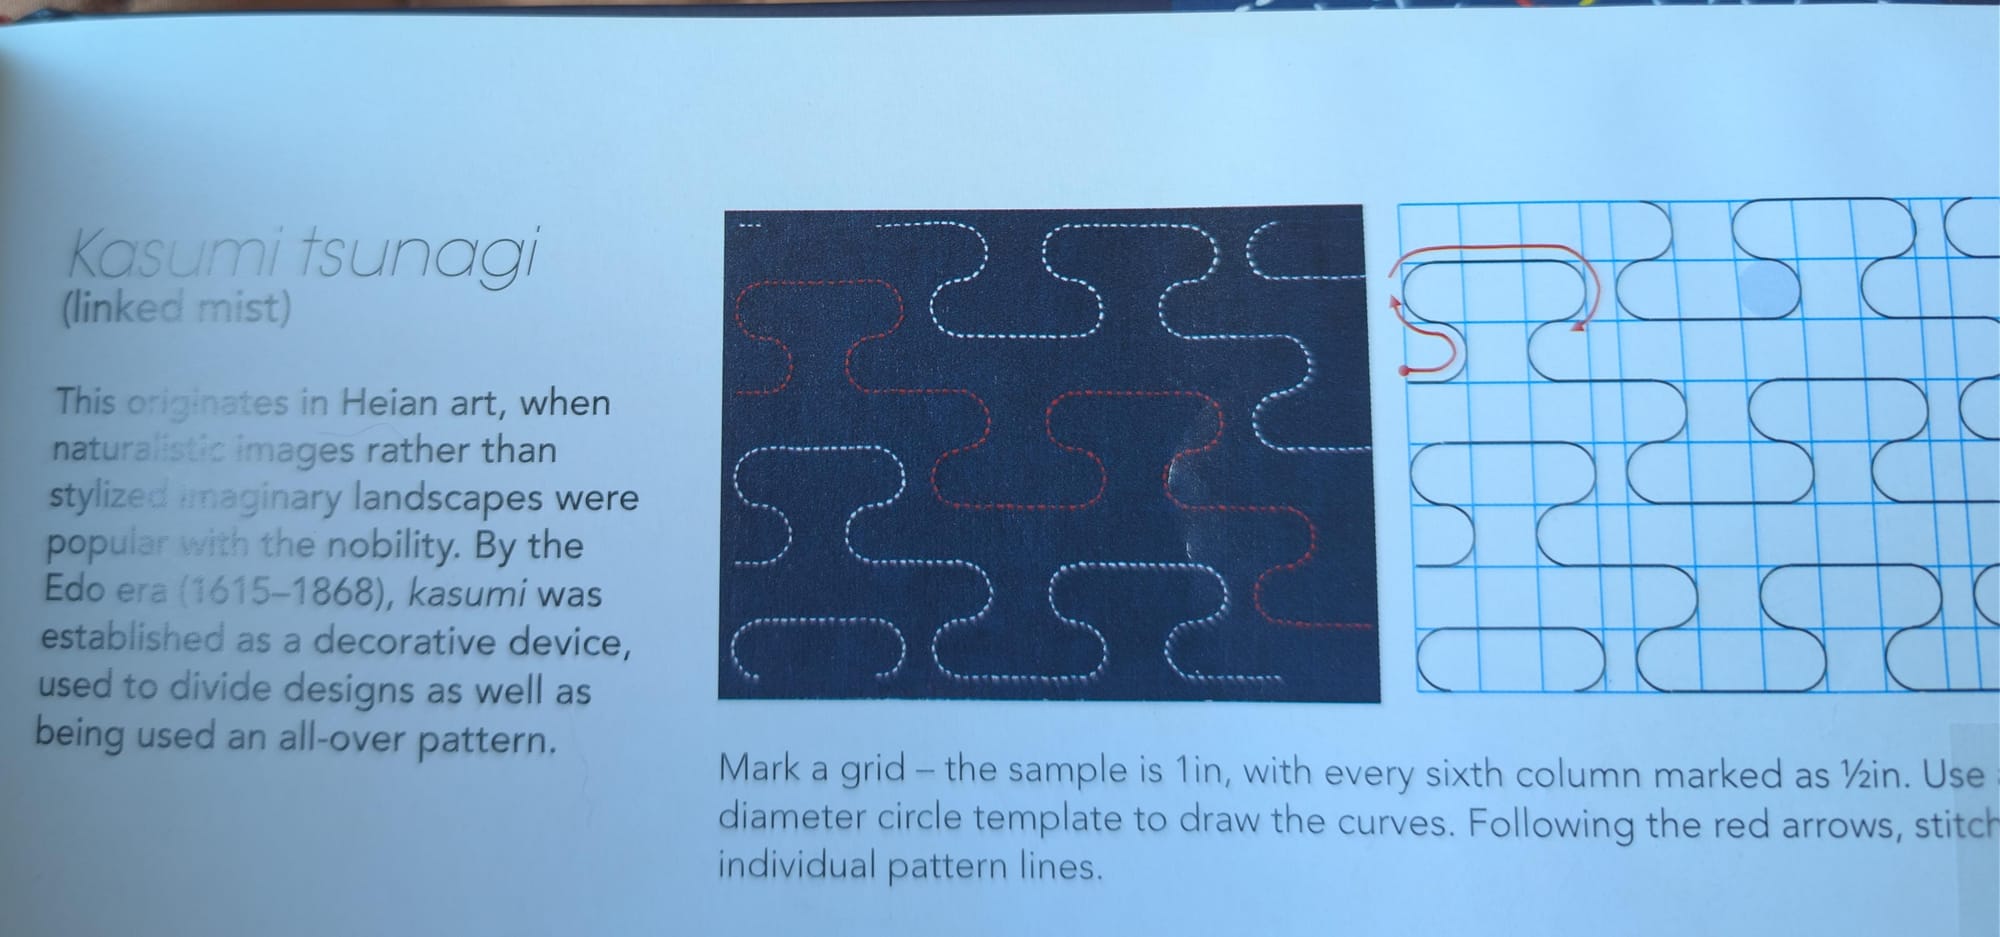
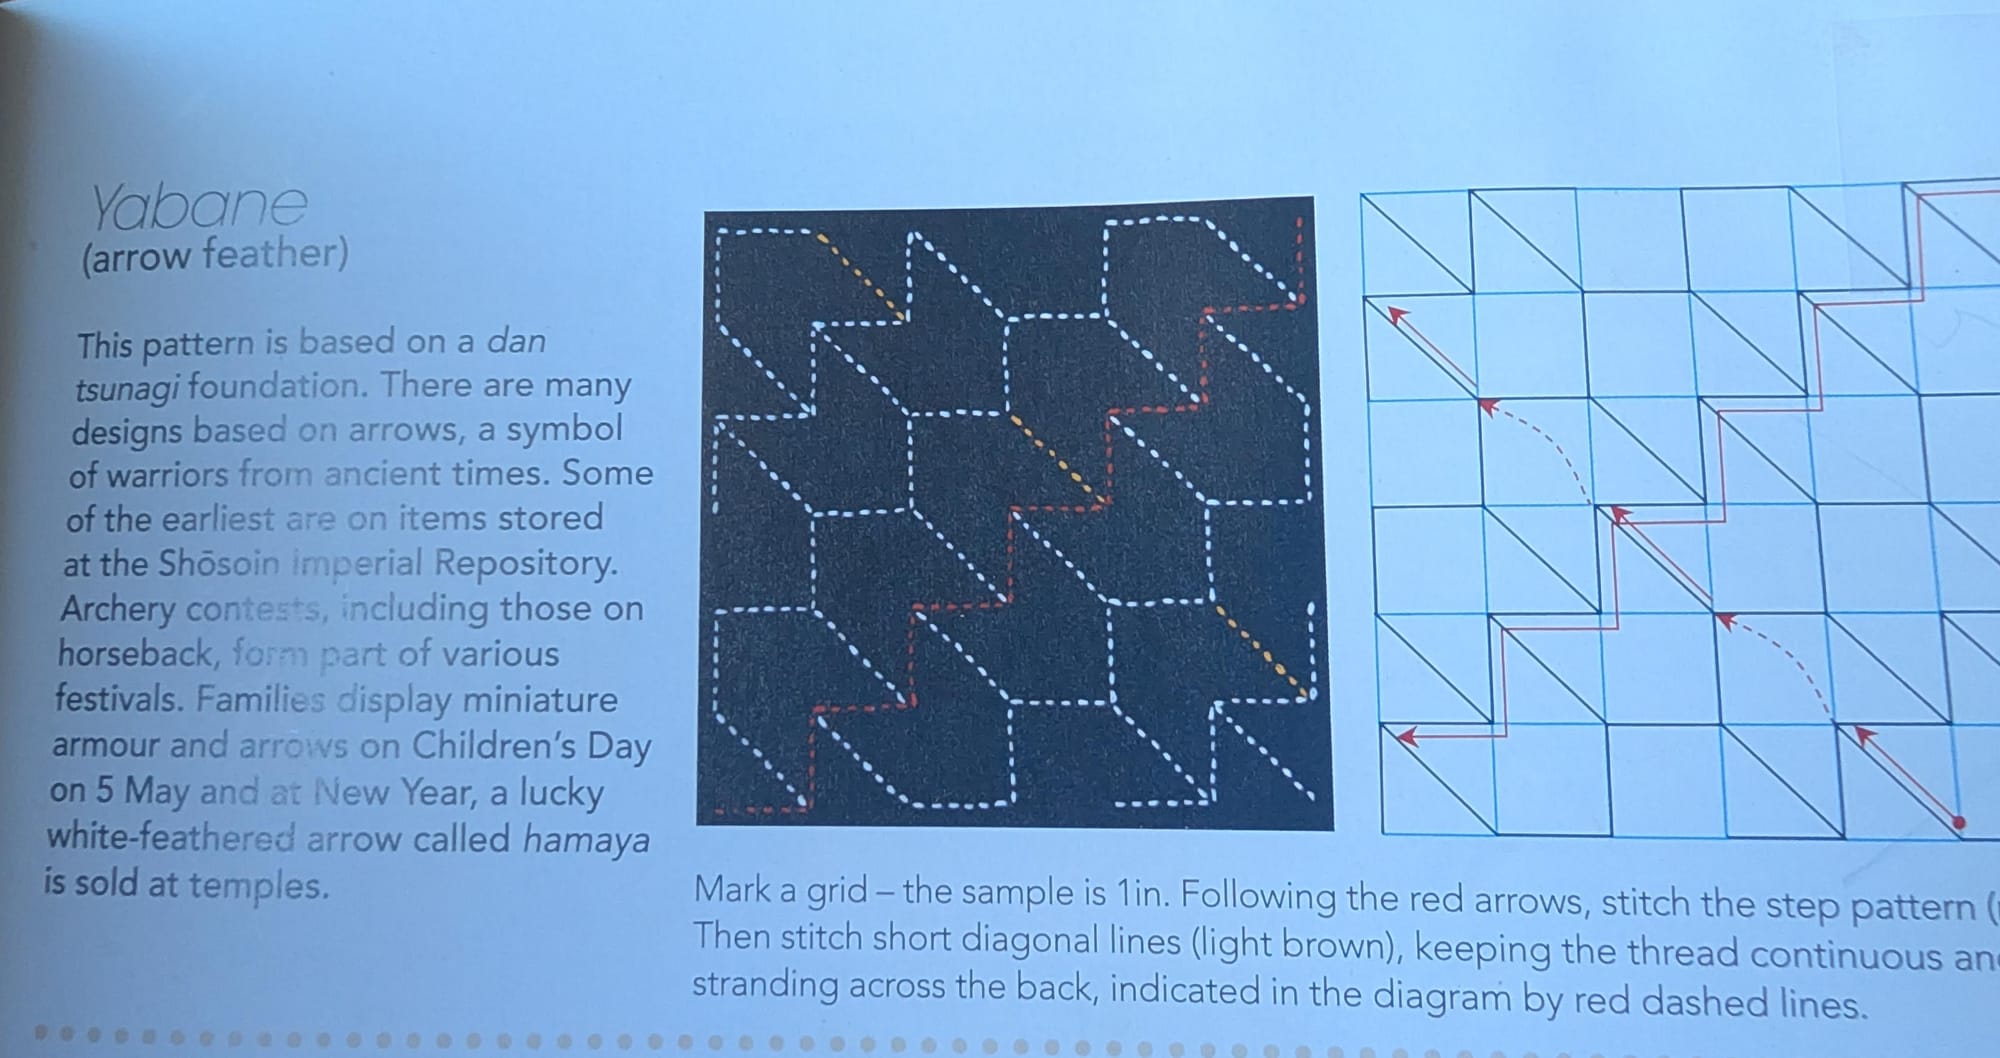
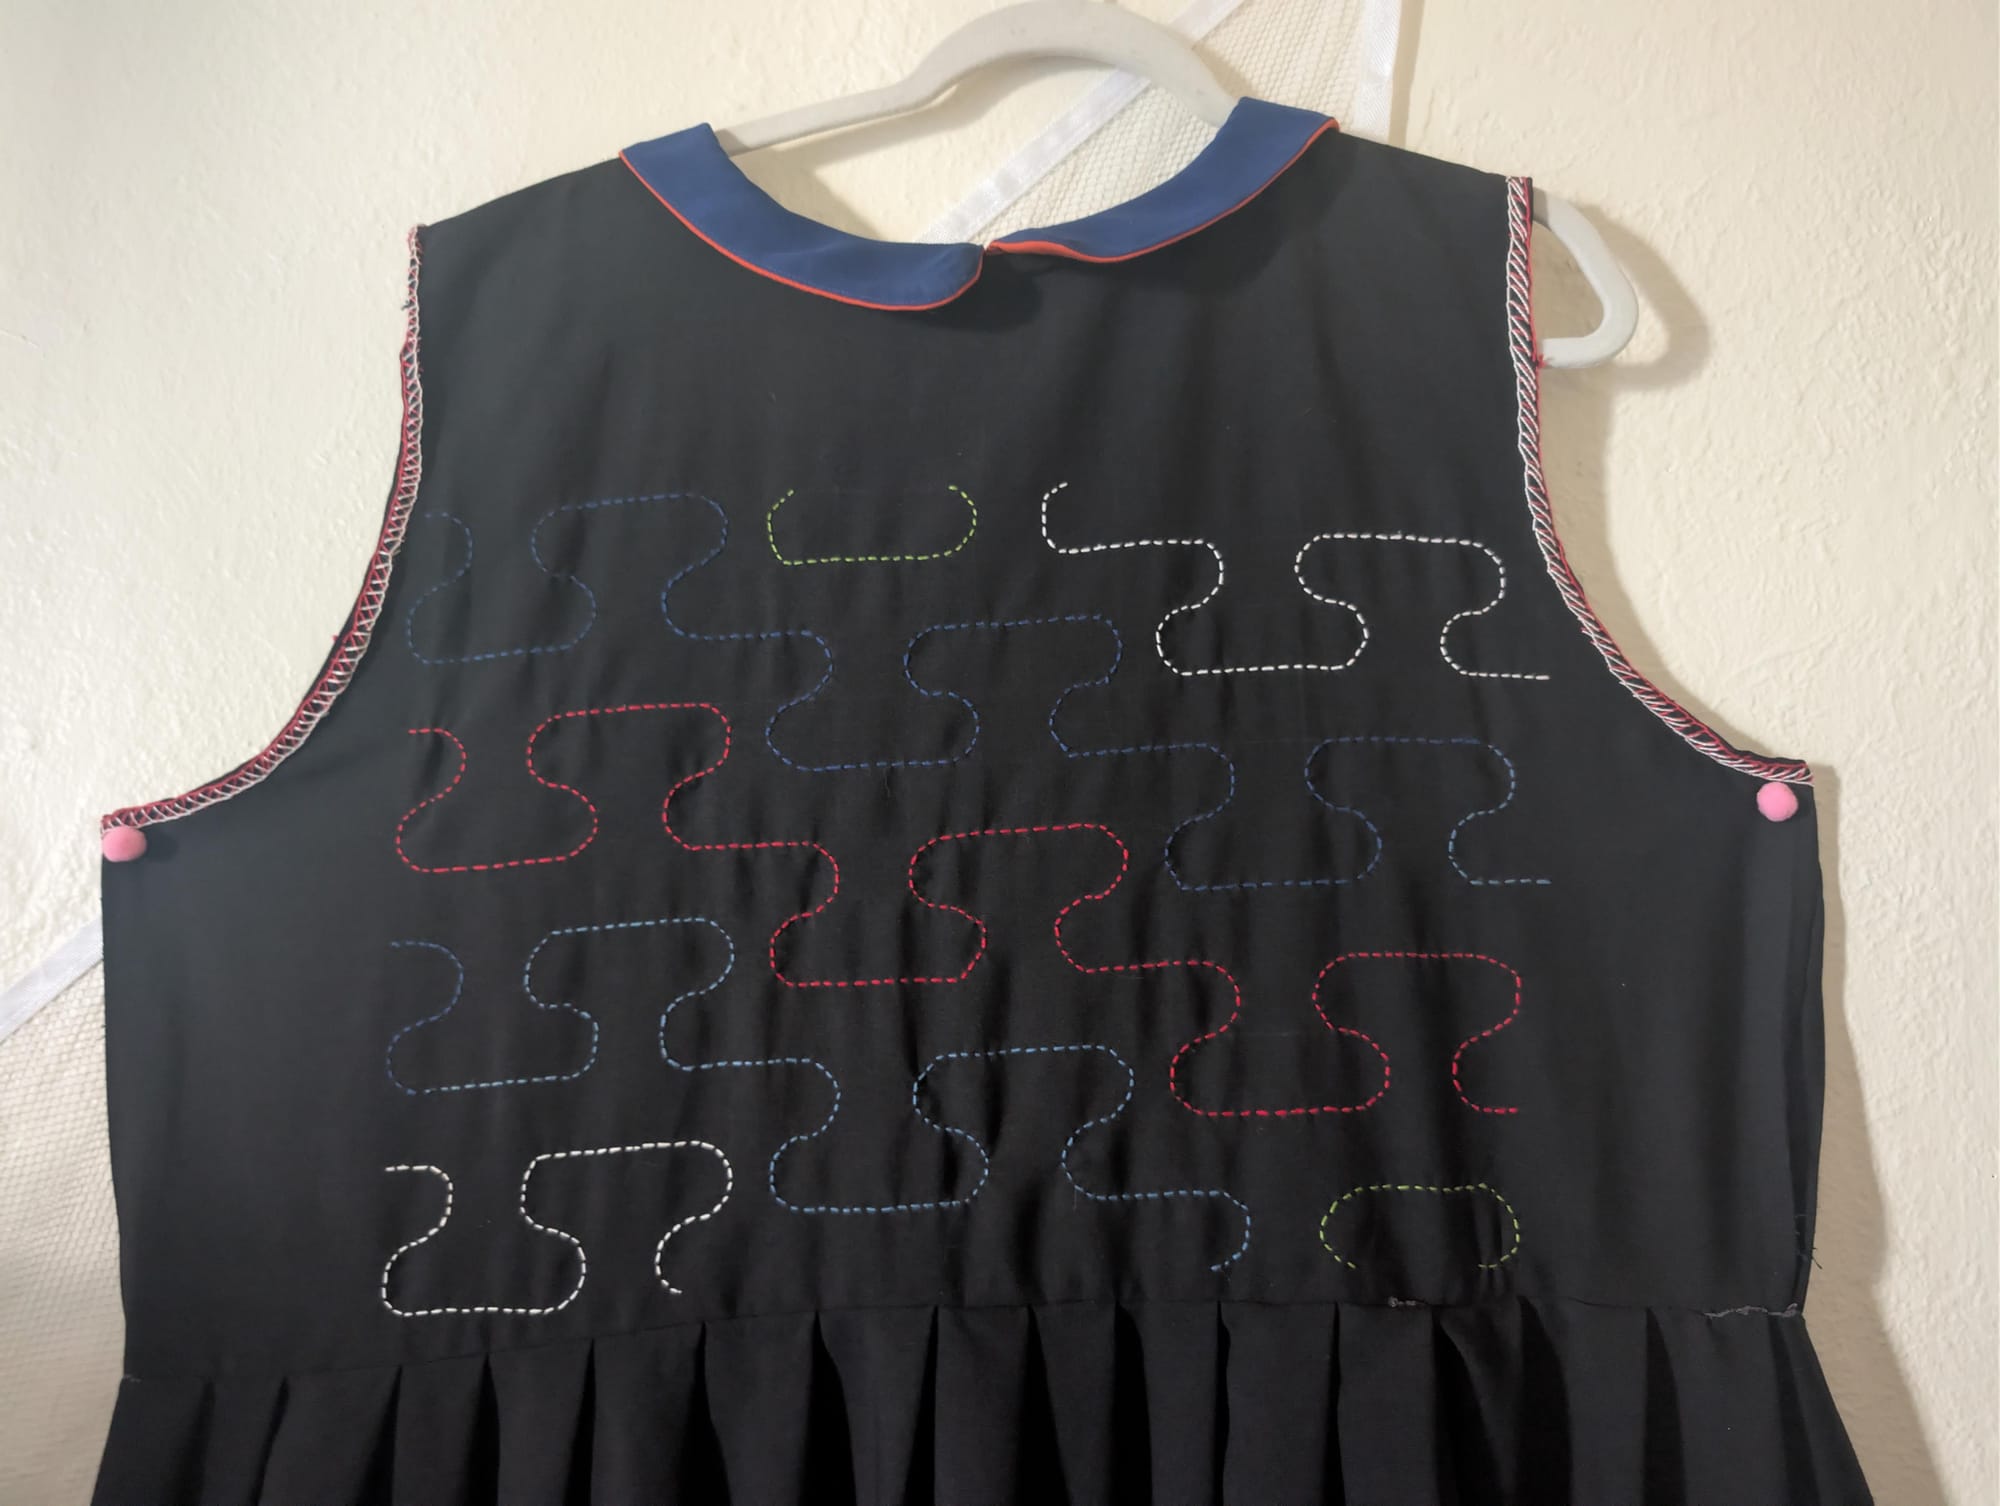
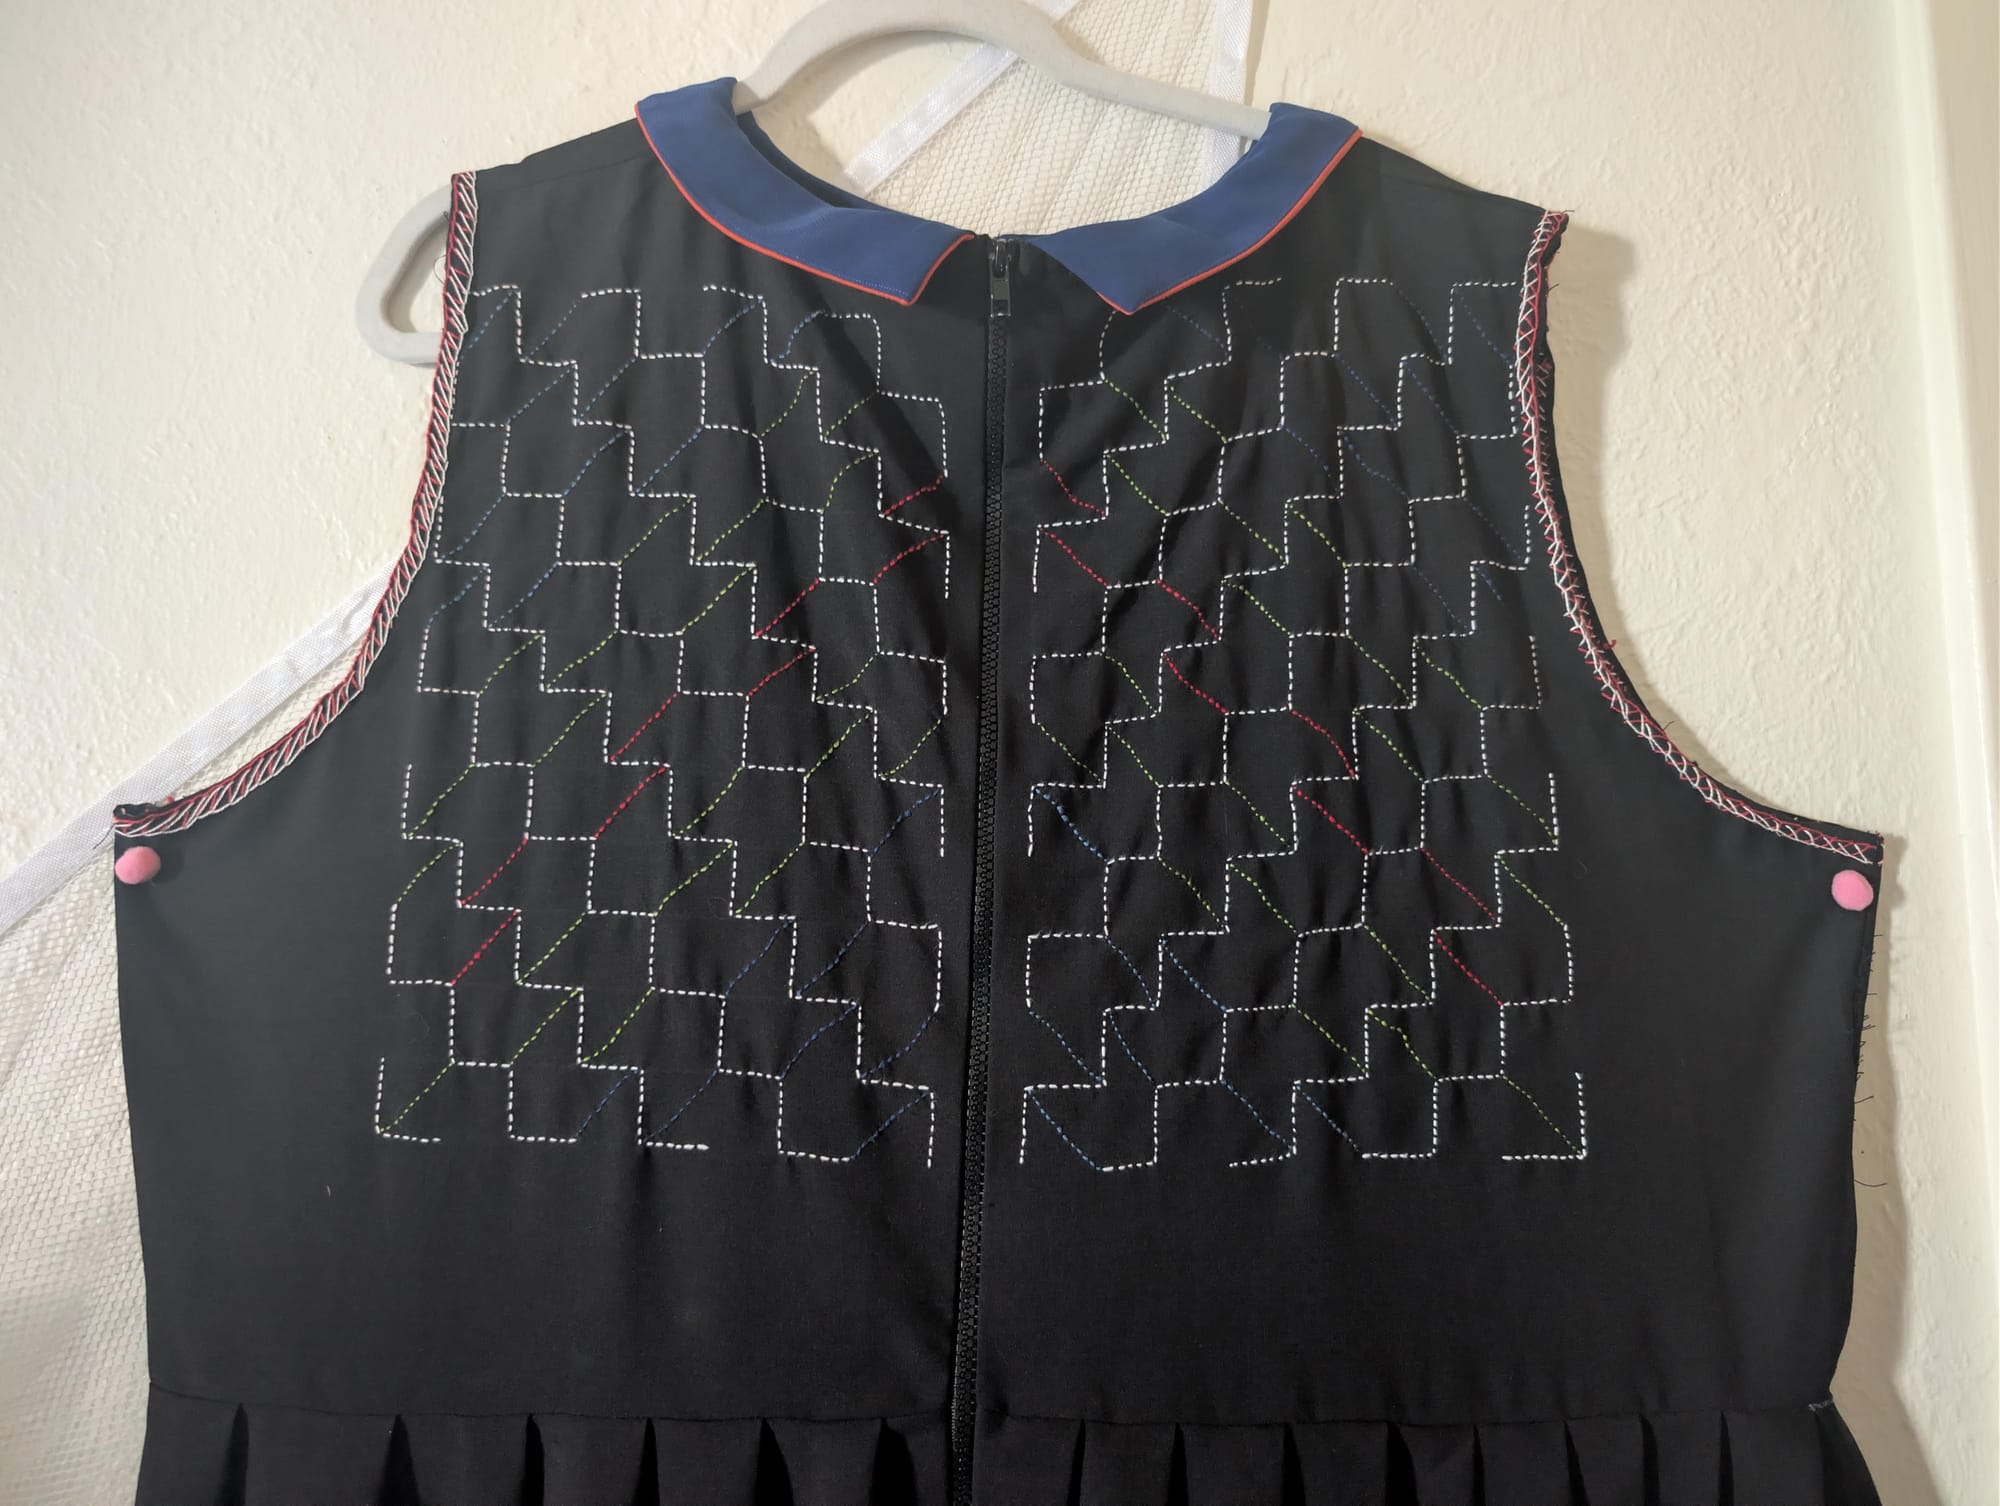
the next order of business was to find which needlework would be most suited for this project and the patterns that would fill the blank space on the dress. if we are taking symmetry and geometry then we are talking sashiko so we went hunting for patterns in the ultimate sashiko sourcebook. after weighing our skill level against the bauhaus theme we were going for, we settled on two patterns: kasumi tsunagi (for the front piece) and yabane (for the back pieces)
pricks of failure
griding & marking:
i've learnt through trial and error that it is worth the effort to spend some time drawing out the pattern on a square grided paper first, before marking it out on fabric. modern sashiko can look deceptively simple on the surface but trickier as you stitch along. drawing it out allows both your eye and hand to get familiar with the smaller patterns and intervals that make up the larger pattern. it may seem cumbersome at first but you save more time following the steps provided in the sequence given than when you try to skip steps and cut corners. sashiko pattern makers are pretty thorough geometricists, they have grid measurements, stitch intervals and even the most efficient route to complete the pattern using the least amount of thread, planned down to a precise art.
when it comes to marking the grid onto fabric, it is good to have a range of marking materials. we have had more luck with heat erasable pens, bohin erasable pencils and water soluble pencils than soapstone, tailor's chalk and other scouring tools. regardless of the scouring tool you use, one thing to note is that the marks eventually fade after a couple of days so if you make slow progress, you may need to mark the fabric more than in the course of stitching. the griding and marking stages are also the most physically effortful since you have to manipulate and hold your body in a vertical position as well requiring two steady hands to hold the ruler and marking tool in place, until the grid finished. we encourage other disabled and sick folks to save those stages for energy buoyant days or have some one more able-bodied help with those parts. you will find a lot of sashiko guides often recommend beginners start out with fabric with visible weaves like linen and cotton; a lot of people even purchase indigo dyed sashiko fabric online. since sashiko is a counted stitch form, fabric with visible weaves work best for it but i find that sashiko can be applied on any kind of medium or heavy weight fabric insofar as you have a little bit of patience to work with the fabric. it is in these moments that it is useful to remember that sashiko is first and foremost an economical art before it is a purely decorative one.
stitching and unraveling
there were many times when we were stitching the bauhaus dress when i would get lost in the motion of folding the fabric into the sashiko needle that i would exceed the grid borders or forget to end turn a corner. other times, i overestimated my skill and found it a bother to go back to the reference pattern and would go along with my own instincts only to end up unraveling all my progress when i got stuck and eventually end up checkinga the reference. in those moments, we realized it again as we have so many other times with crochet, once you catch a mistake, it is always better to begin unraveling for a do-over no matter how much progress is lost than forging ahead and hoping for the best. it is always tempting to continue especially if you have made much progress but you really won't learn from that mistake if you don't. you will also find out that doing over will not take you as long as the first time. that little time saving difference is the gradual accumulation of your skill in real time. and since fabric is forgiving, you can always unravel and start again as many times as you need.
finished object
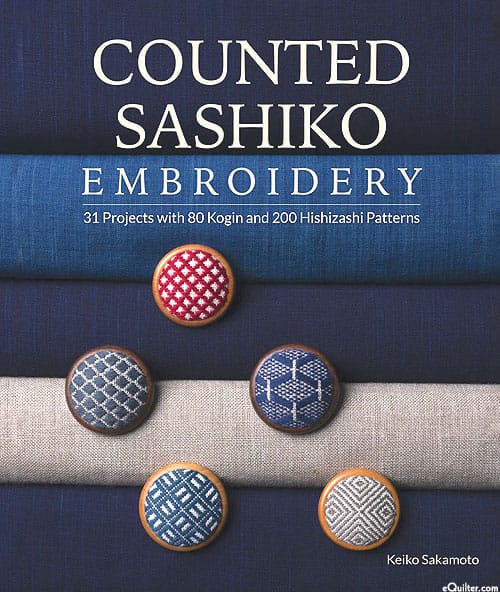
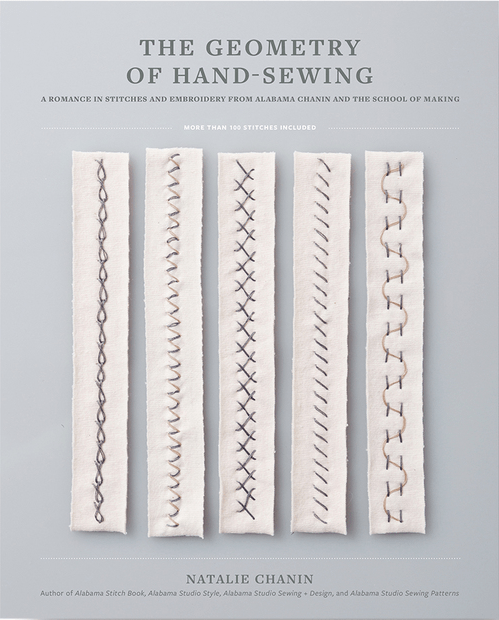
two other embroidery reference guides we swear by: counted sashiko embroidery by keiko sakamoto and the geometry of handsewing by natalie chanin
waffle-stitch fall vest
getting started
in the past ten years, we have tried to take up crochet a number of times. past attempts usually end in simple unfinished objects abandoned in near stages of completion. for instructions we defaulted to video tutorial on youtube. so when we decided to take up crochet again this year, we had a couple of learning goals:
- learn and nail the basics stitches first
- learn how to read and follow a crochet pattern
- each new project should be used to practice and review fundametals and each new stitch we learn
- avoid novelty yarns and plan yarn yardage according to the project use to avoid accumulating excess yarn
- if possible, join a crafts local group
to get started we got some reference guides that would help us focus on the fundamentals and sharpen the basics. the two books that have been invaluable to us providing the right amount of detail and stitch variety are Crochet Techniques and Tips and the Crochet Book by DK.
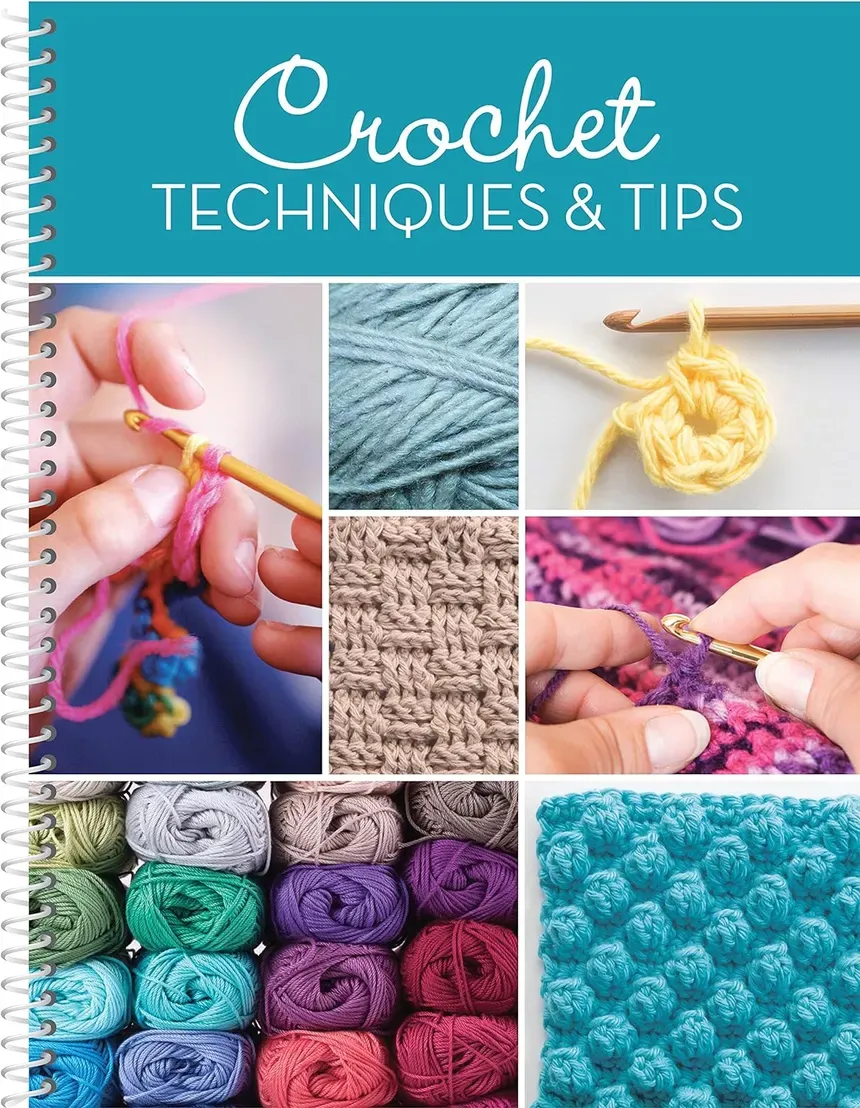
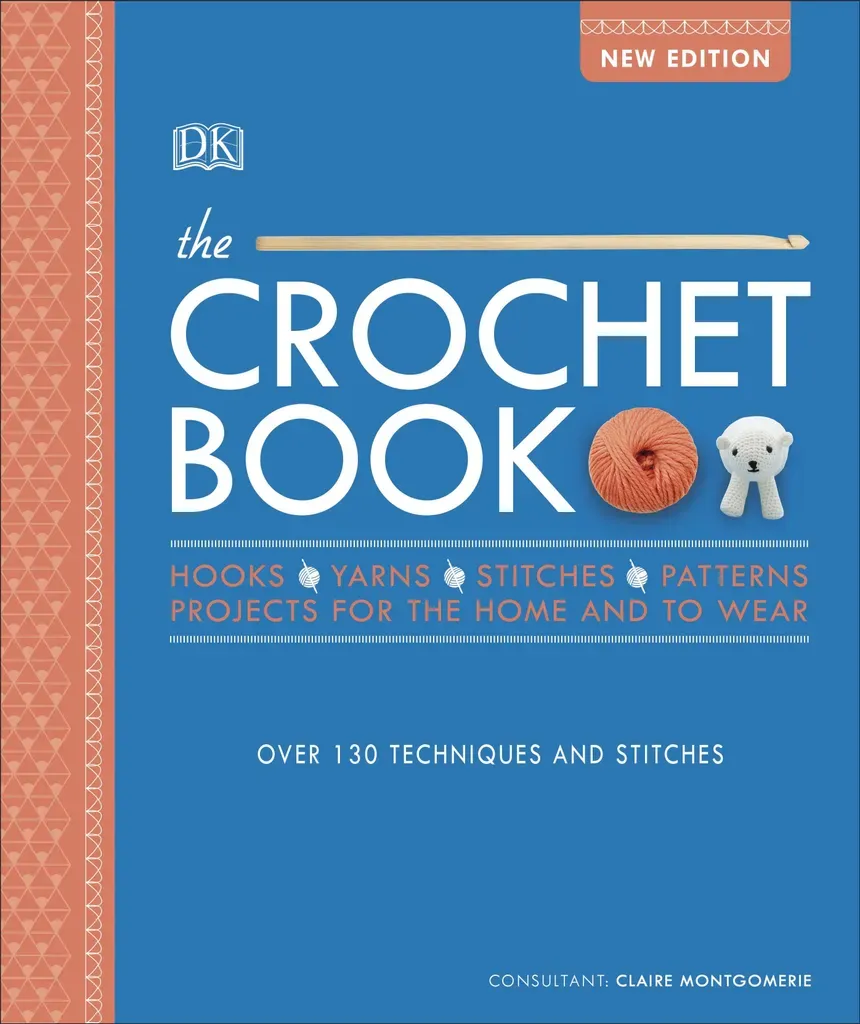
the fall vest
beyond those references, the crochet magazines the e-library app, Libby stocks monthly has been a treasure trove for free patterns and tips. when we thinking of a garment to crochet for fall that matched our beginner level, that is where we went for inspiration. after thinking some, we decided we wanted to try our hand at making a vest for fall entirely from pattern. we were thumbing through an edition of simply crochet when we found the perfect pattern we could crochet with some slight modification. we took a screenshot of the pattern and the finished object and set out to decide on yarn colors and work out the guage and tension.(we are slowly building a folder of wish projects from the screenshots we are collecting. the best part is when we are ready to start the project, we know we have a free pattern to work from.)
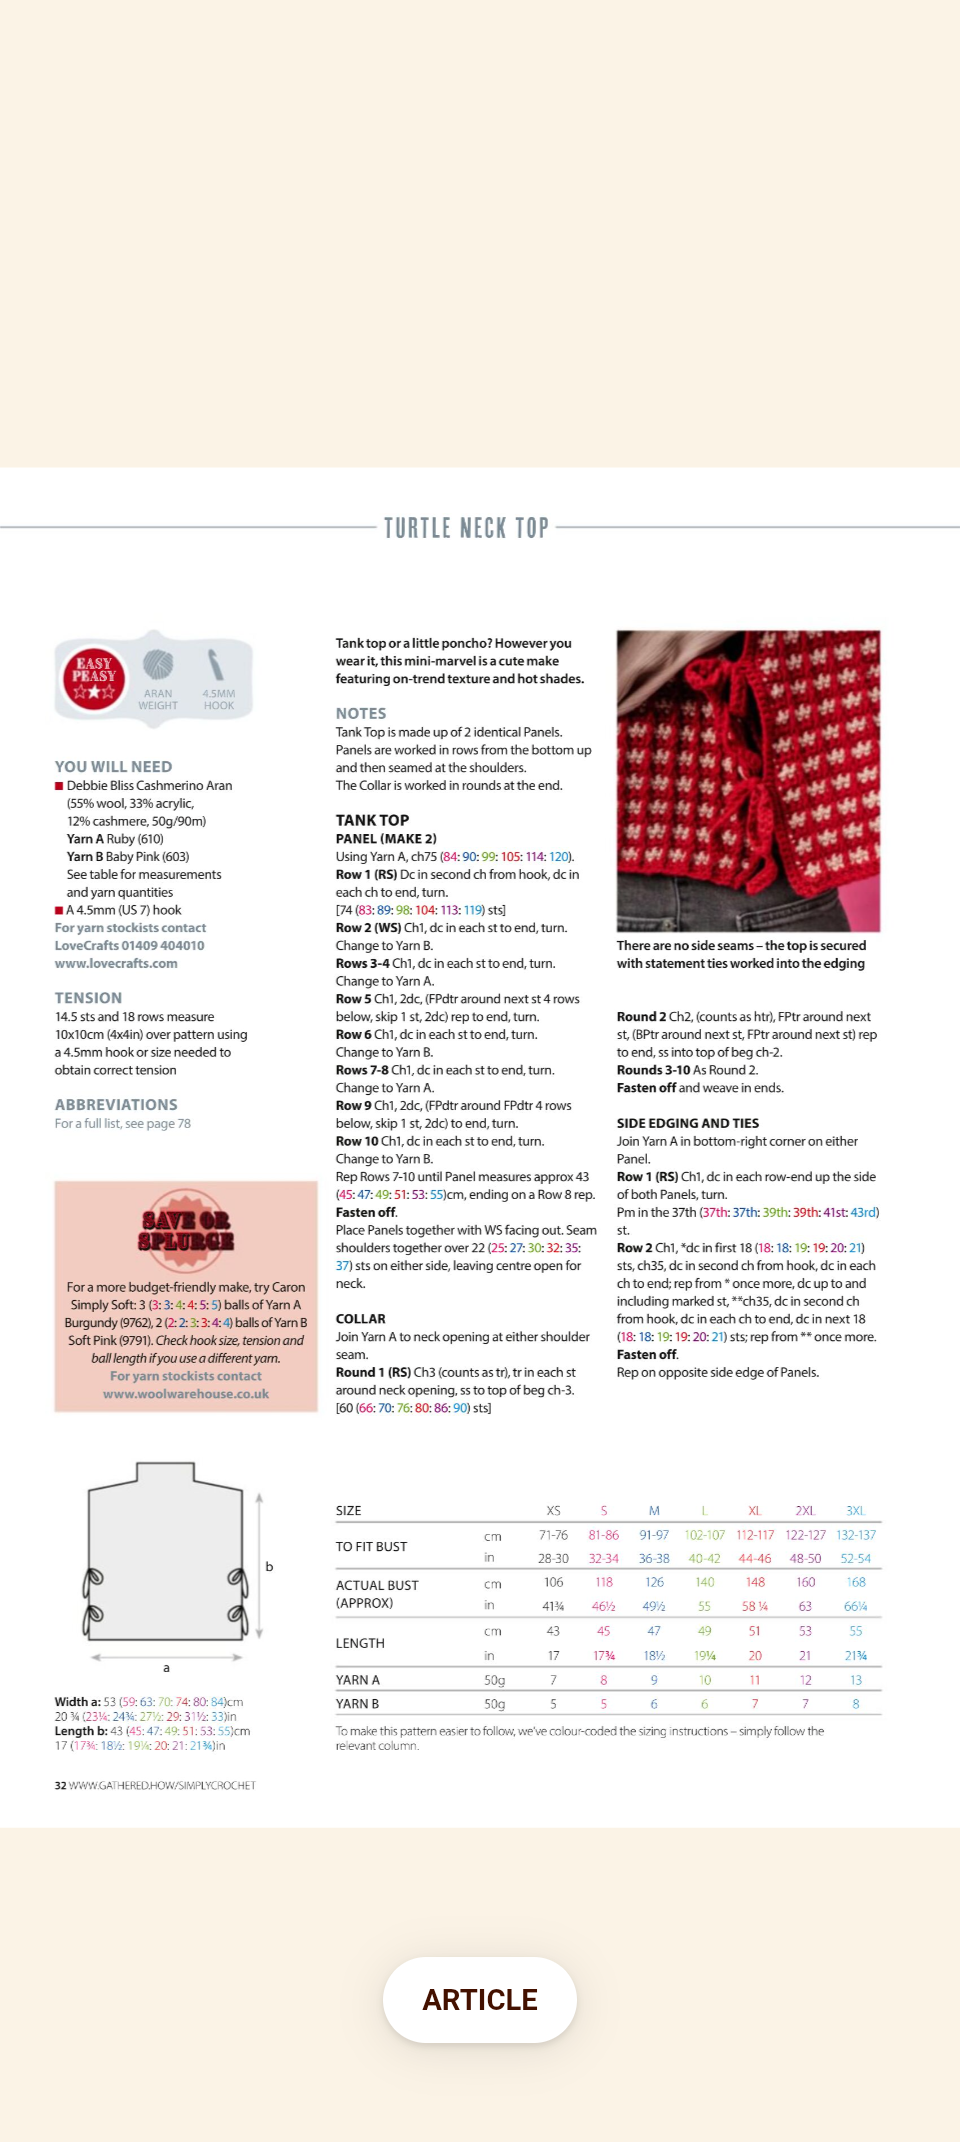
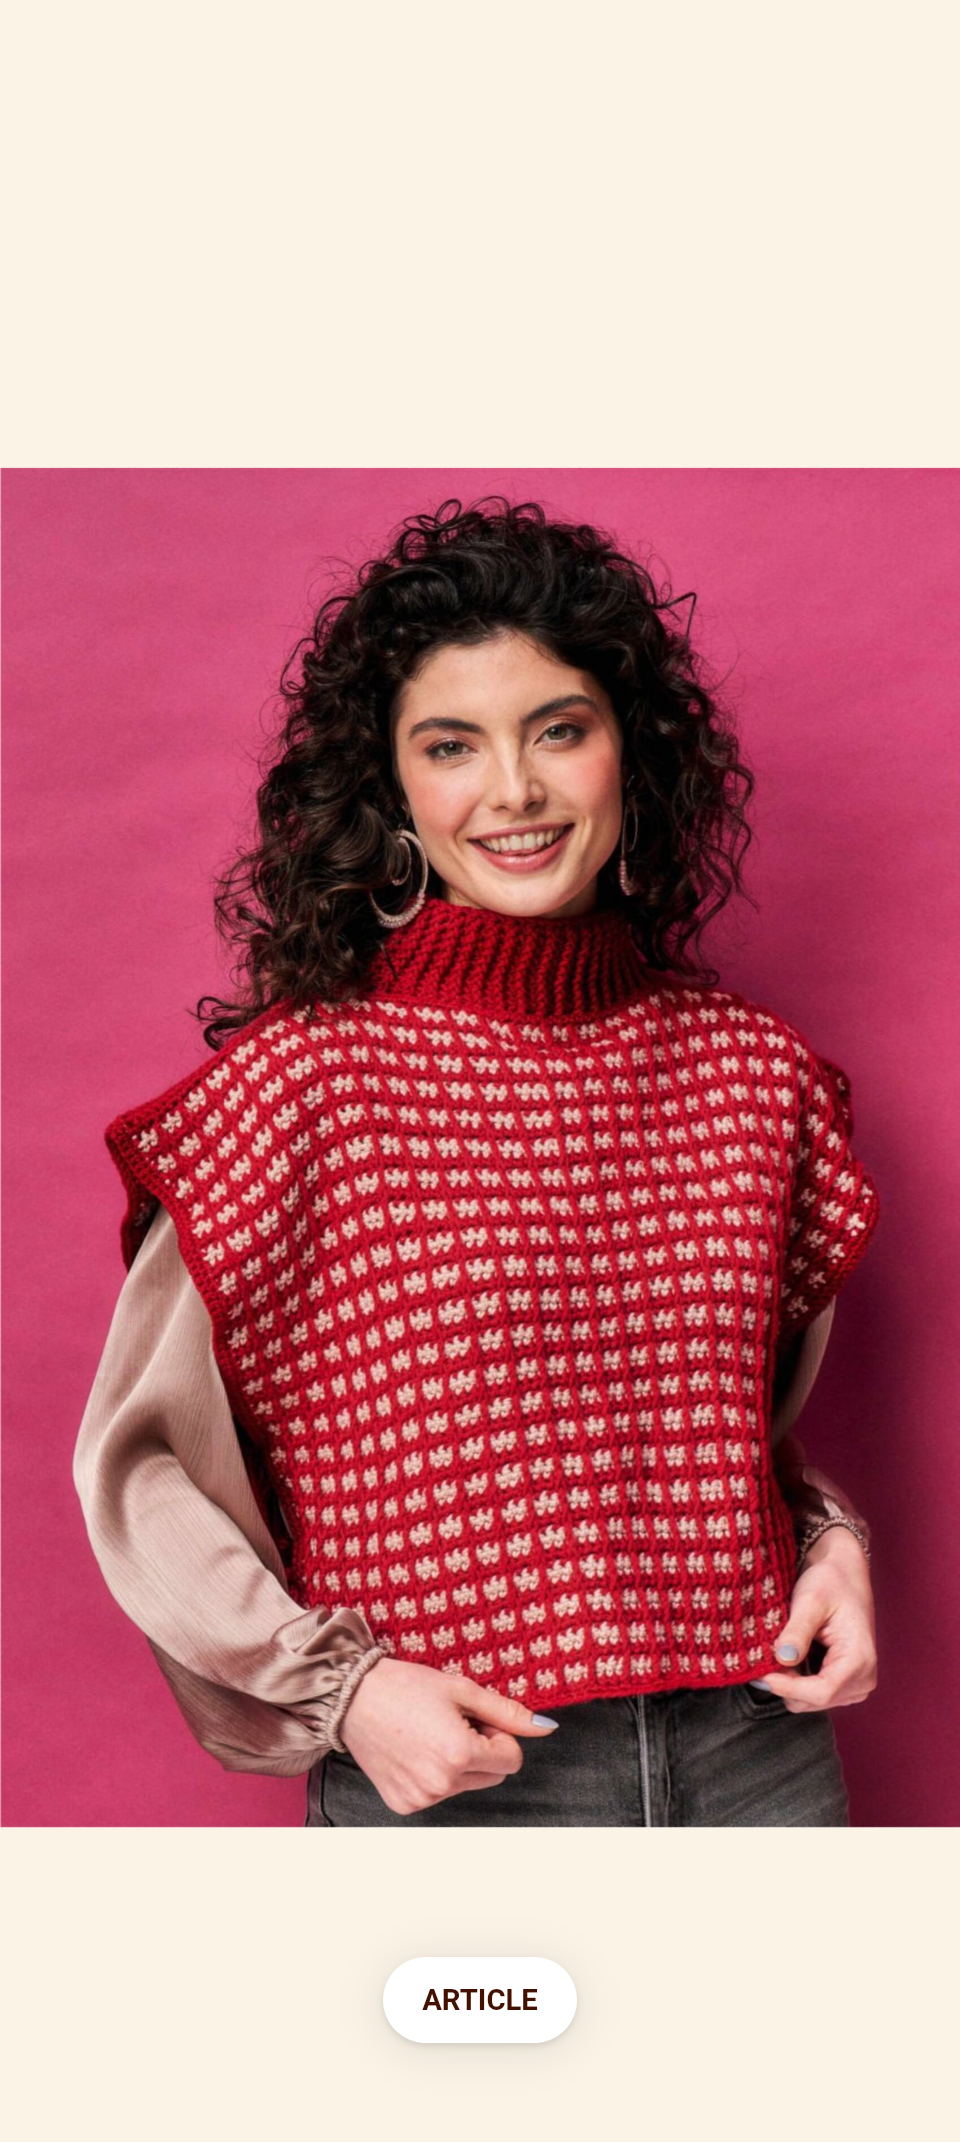
beginner's crafter tip: for us poor, disabled crafters, getting a library card to access the libraries e-resources is one of the best things you can do. chances are that whatever craft or skil you are interested in learning, the library will have an array of references, tools and even classes to get you started so you don't have to shell out tons of money buying new stuff. if there are no libraries around, do a quick search (online and word of mouth) to see awhat craft groups, collectives or hobbyist clubs are around. they are always excited to welcome new members or folks who show interest.
snags in the process
swatch gauge
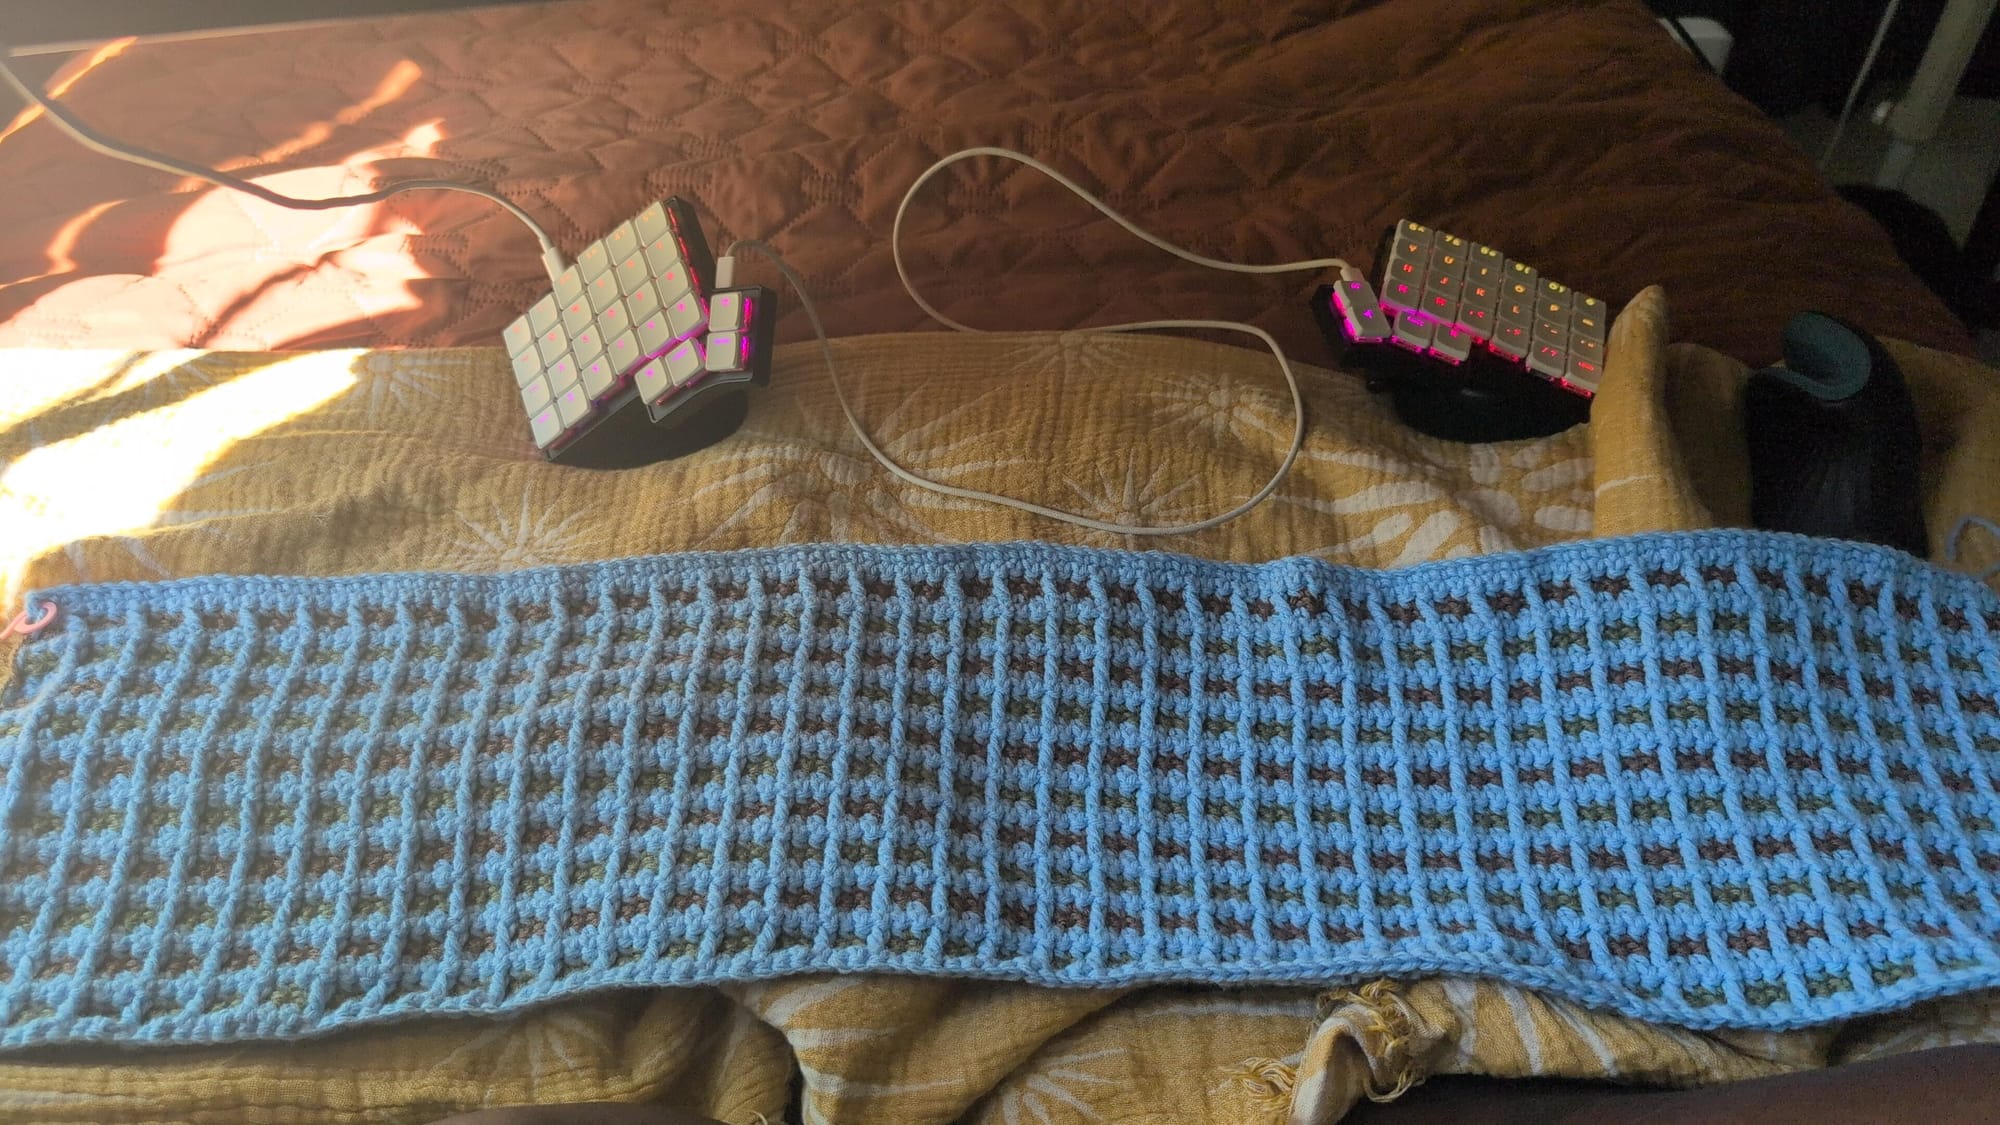
sometimes gauging feels like such a hassle, we convince ourselves we can begin crocheting without it. we always regret it though. we had a couple of false starts with this project. we were using a different yarn and color scheme than the one used in the pattern, it was also our first time crocheting from a pattern and attempting the waffle stitch so it took a couple of gauge swatches to get into the groove of things.
pinning panels
according to the pattern, the vest is two rectangular panel joined at the shoulders. we had to take a break in between finising the first panel and starting the second panel so we pinned the panel to a wall in our room. which was a terrible idea cause gravity puts pressure on crochet and knitted fabrics stretching and slacking them if they aren't folded and stored properly.
decorative edging
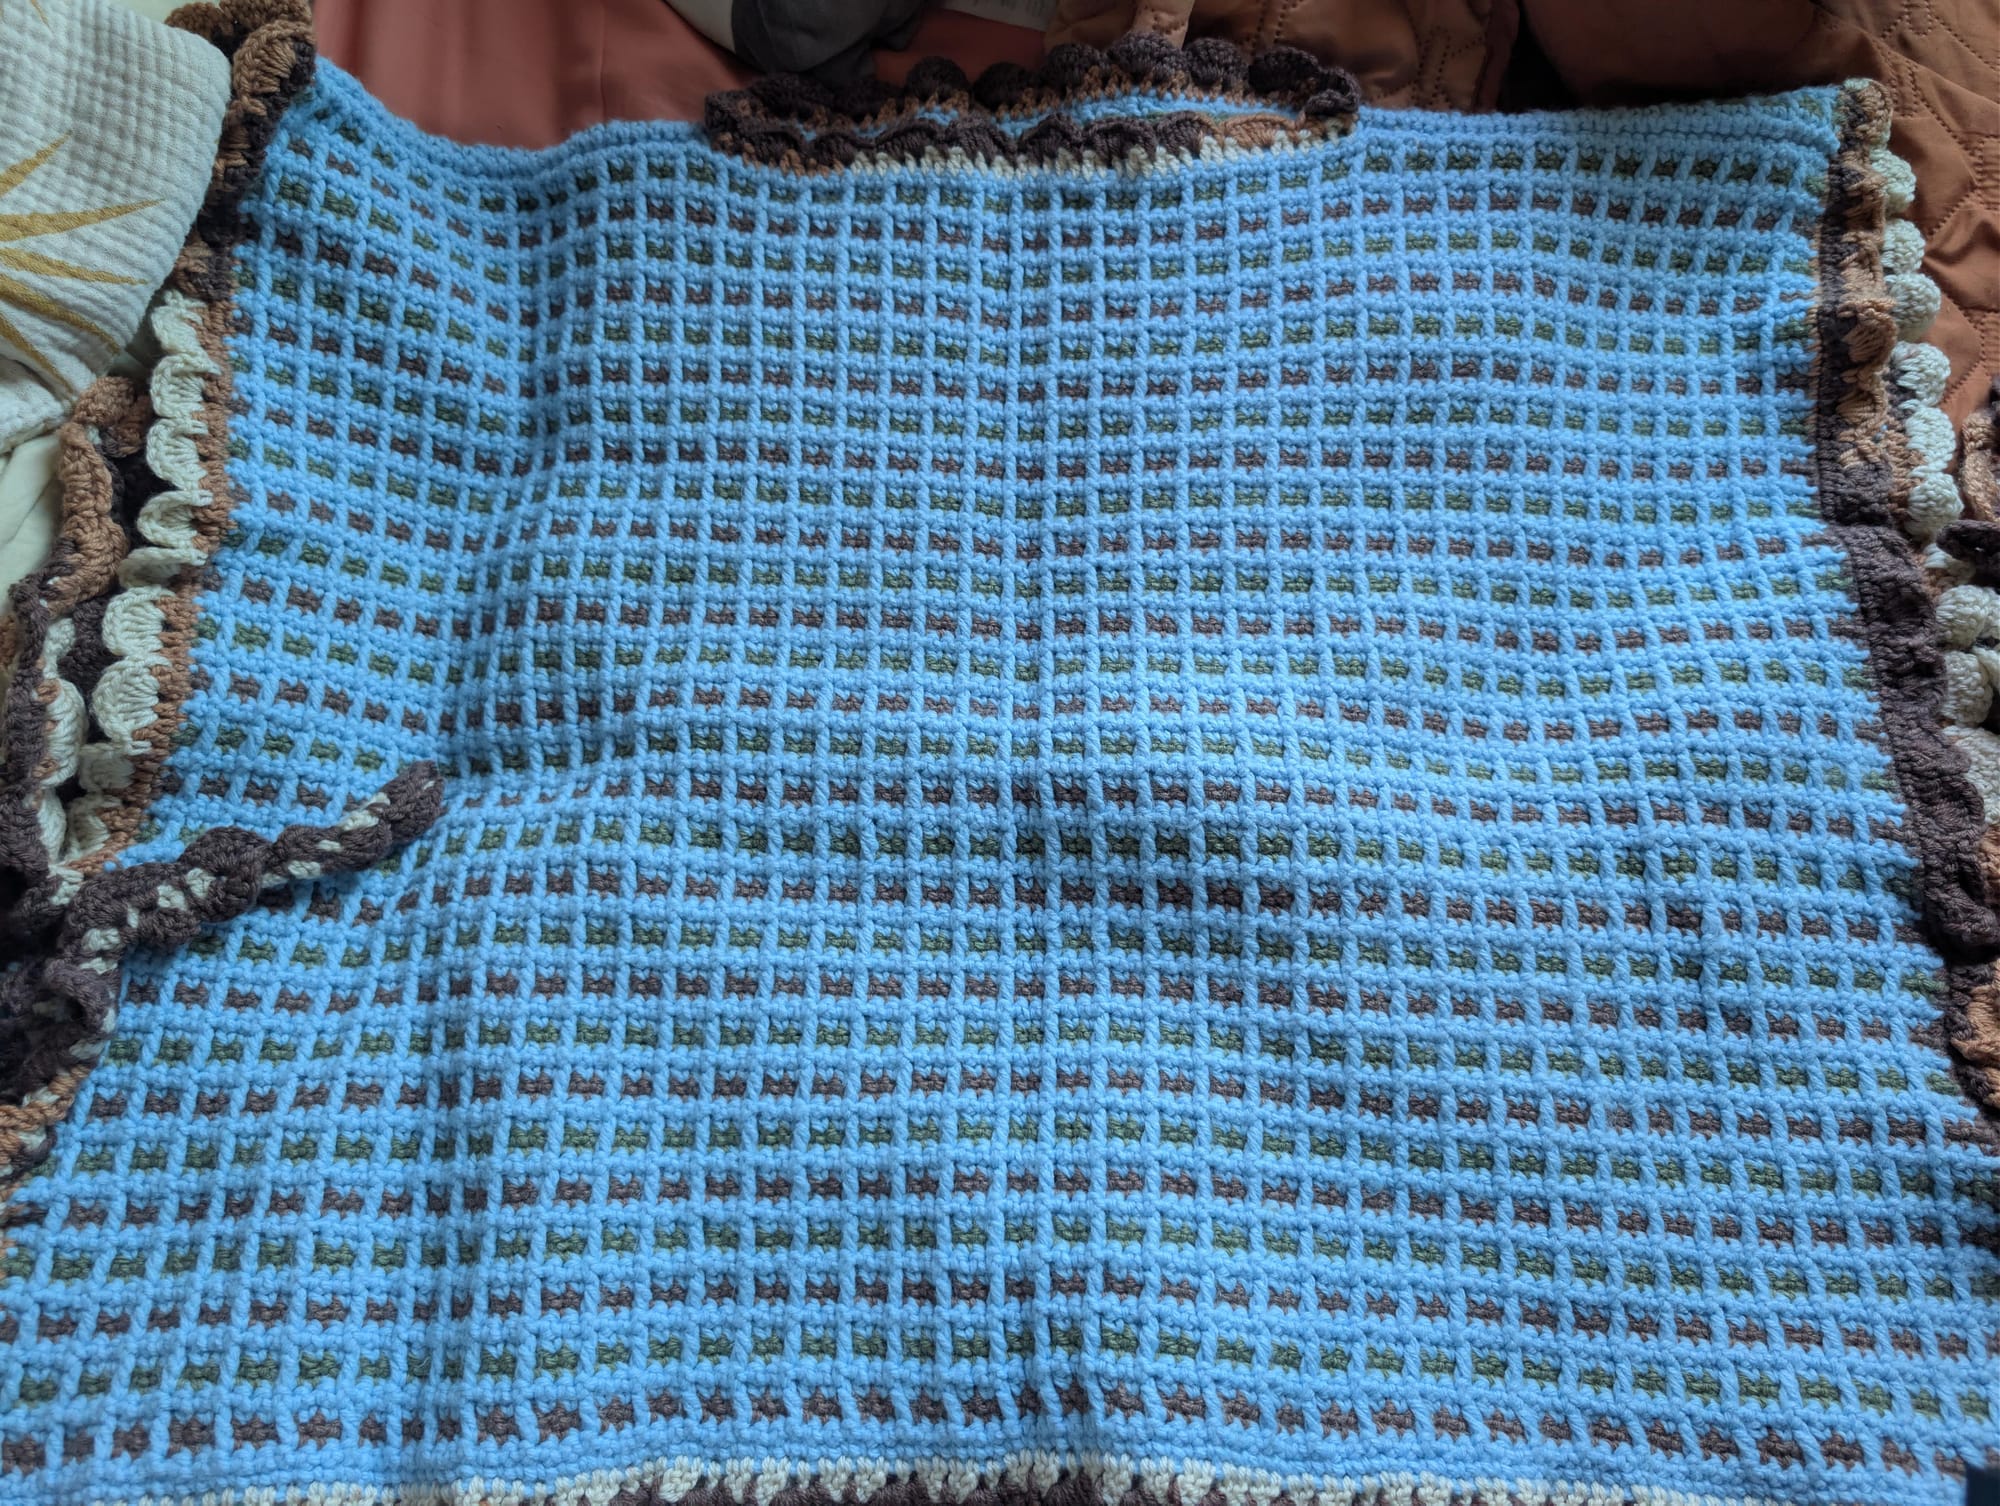
there were a couple of new things we learnt from our foundational practice that we eager to try out on our version of the fall vest. for personal flair, we used shell stitches as decorative edging on the neckline, borders and ties. we underestimated the amount of yarn we needed so we ended up cobbling two different yarn together. still, the finished object turned out great
finished object

in orbit,
eégúnjϙbί